Part 2: Modern Assembly Toolchain: NASM, GCC Linker, GDB & First Linux Program
Lesson Overview & Practical Objectives
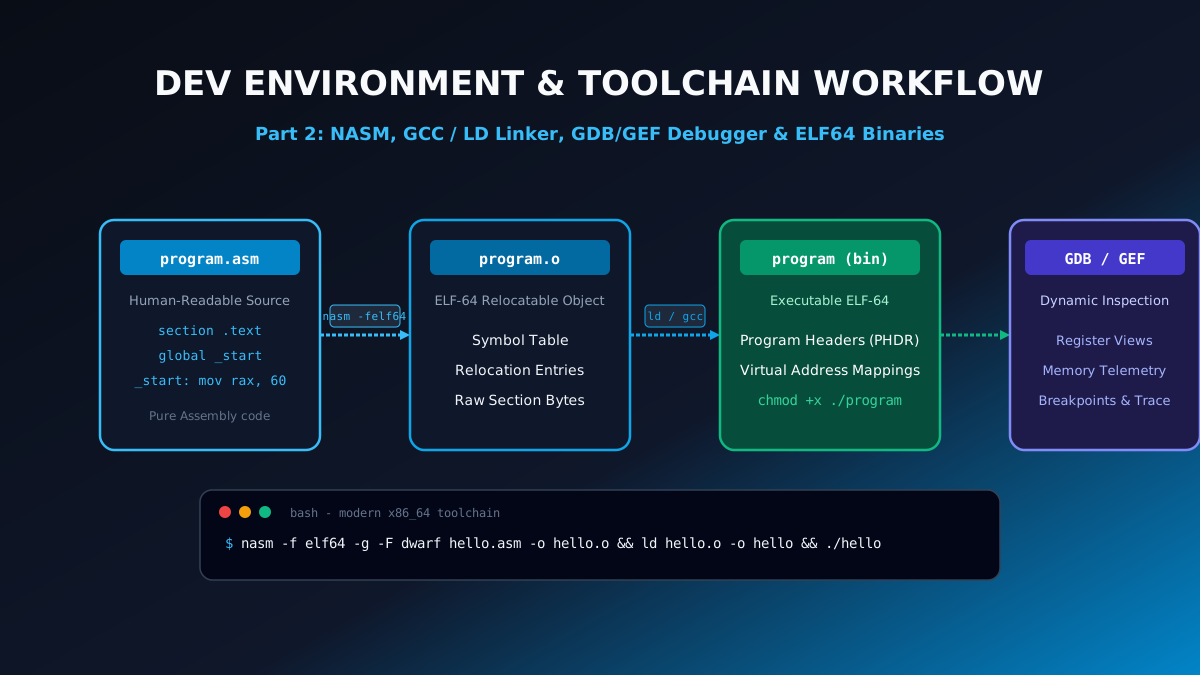
Theoretical knowledge of processor architecture becomes tangible when you configure a production-grade development toolchain, write low-level source code, assemble relocatable object files, link executable binaries, and inspect execution at the machine-instruction level. In Part 2 of our series, we configure the Netwide Assembler (NASM), GCC, and GDB with GEF on Linux, construct an elegant 64-bit "Hello, World!" program utilizing native Linux system calls, and master live debugging with register telemetry.
1. Toolchain Setup: NASM, GCC, and GDB/GEF
Our development platform targets the Linux x86-64 (AMD64) environment. If you are developing on Ubuntu, Debian, Fedora, or Windows Subsystem for Linux (WSL2), install the modern build toolchain via your package manager:
# Ubuntu / Debian / WSL2 installation
sudo apt update && sudo apt install -y nasm build-essential gdb binutils
To elevate standard GDB into an elite reverse-engineering and systems debugger, we install GEF (GDB Enhanced Features), which automatically renders current registers, stack frames, and disassemblies on every single breakpoint:
# Install GEF for GDB
bash -c "$(curl -fsSL https://gef.blah.cat/sh)"
2. Writing Your First 64-Bit Assembly Program
Create a file named hello.asm. In modern 64-bit Linux, programs interact with the operating system kernel via the syscall instruction (not the outdated 32-bit legacy int 0x80 software interrupt).
; ----------------------------------------------------------------------------
; Program: hello.asm (x86-64 Linux)
; Description: Demonstrates 64-bit syscalls (sys_write and sys_exit)
; ----------------------------------------------------------------------------
section .rodata
message: db "Hello, Modern Assembly World!", 10 ; 10 = ' ' newline
message_len equ $ - message ; Calculate length in bytes
section .text
global _start ; Entry point for the ELF linker
_start:
; 1. Initiate sys_write (syscall 1)
; Signature: sys_write(unsigned int fd, const char *buf, size_t count)
mov rax, 1 ; RAX = 1 (sys_write identifier)
mov rdi, 1 ; RDI = 1 (File Descriptor: 1 is standard output / stdout)
lea rsi, [message] ; RSI = Address pointer to message buffer
mov rdx, message_len ; RDX = Number of bytes to transmit
syscall ; Invoke Linux kernel privilege transition
; 2. Terminate program cleanly via sys_exit (syscall 60)
; Signature: sys_exit(int error_code)
mov rax, 60 ; RAX = 60 (sys_exit identifier)
xor rdi, rdi ; RDI = 0 (Exit status code: 0 indicates success)
syscall ; System terminates
3. Assembling, Linking, and ELF-64 Generation
The compilation process occurs across two distinct mechanical stages:
Stage 1: Assembling with NASM
NASM translates symbolic text into relocatable machine opcodes, producing an ELF-64 object file (.o). We pass -g -F dwarf to embed standard DWARF debugging symbols into the binary:
nasm -f elf64 -g -F dwarf hello.asm -o hello.o
Stage 2: Linking with LD
The linker (ld) resolves symbolic references (such as _start), organizes program segments into memory page mappings, and generates the final standalone ELF-64 executable:
ld hello.o -o hello
Execute your binary and inspect the return code using the shell variable $?:
$ ./hello
Hello, Modern Assembly World!
$ echo $?
0
4. Interactive Debugging with GDB & GEF
Launch GDB to step through your program instruction by instruction:
gdb -q ./hello
Set a breakpoint at _start, run the binary, and execute single instructions using si (step instruction):
| GDB / GEF Command | Operational Effect |
|---|---|
| break _start | Sets a hardware breakpoint at program entry point |
| run | Launches execution until breakpoint is encountered |
| si (stepi) | Steps forward exactly one machine instruction |
| info registers | Displays the 64-bit hexadecimal contents of all GPRs |
| x/s $rsi | Examines memory at RSI as a null-terminated ASCII string |
Summary & Next Step
You now have a fully operational x86-64 assembly development and debugging environment. In Part 3, we examine memory architecture in depth: virtual address spaces, page tables, memory segmentation, security flags (NX/DEP), and the operational distinctions between .text, .data, .rodata, and .bss.
Related reading
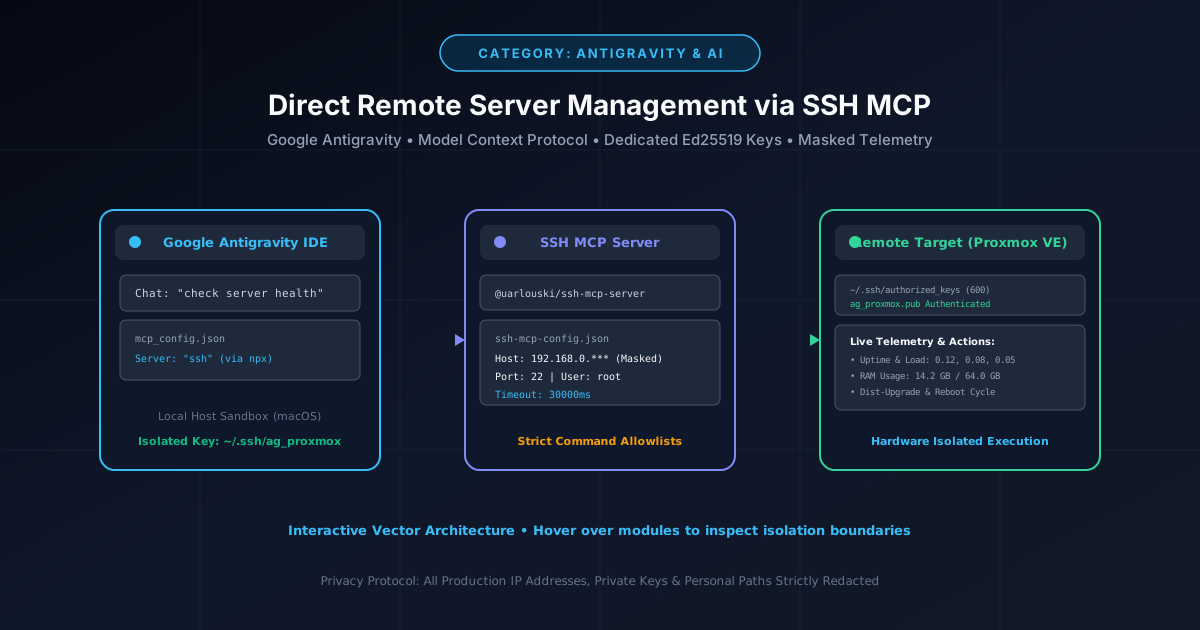
How to Give Google Antigravity Direct SSH Access to Remote Servers (Proxmox & Linux)
Connect Google Antigravity directly to Proxmox and Linux servers using the Model Context Protocol (MCP), dedicated Ed25519 keys, and automated updates.
By Md. Harun-Or-Roshid
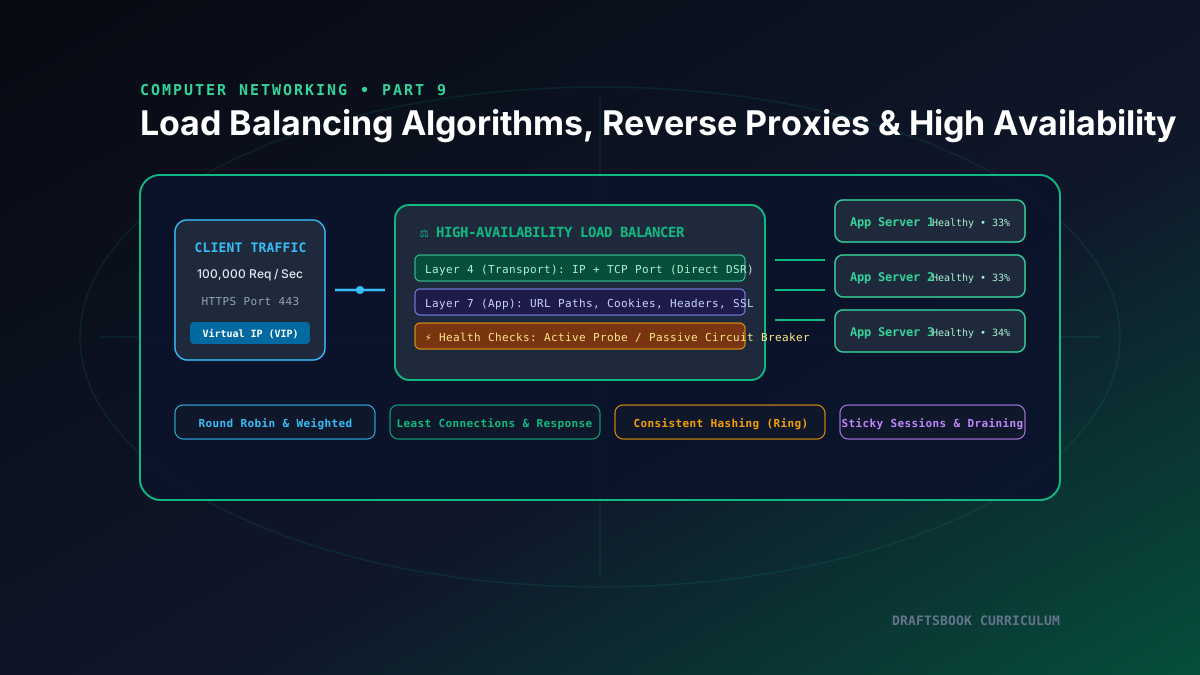
Part 9: Load Balancing: Layer 4 vs Layer 7, Algorithms, Reverse Proxies & High Availability
Master high-availability load balancing, comparing Layer 4 transport vs Layer 7 application routing, consistent hashing rings, and health checks.
By Md. Harun-Or-Roshid
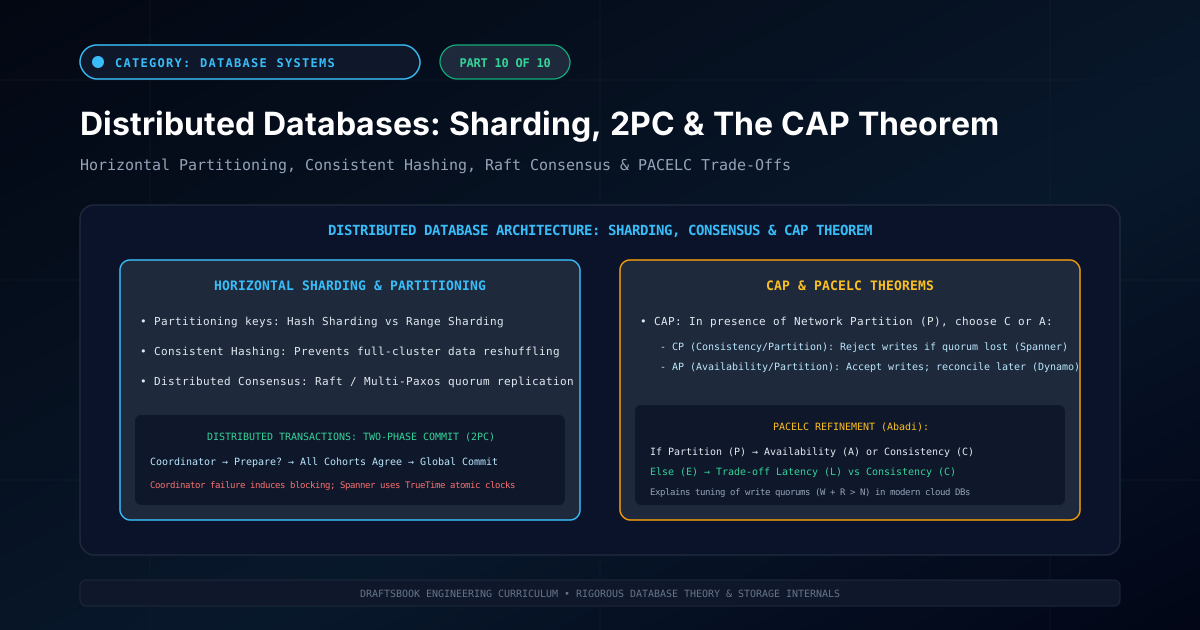
Part 10: Distributed Databases: Partitioning, Sharding, 2PC & CAP Theorem
Master distributed database architecture: horizontal sharding, consistent hashing, two-phase commit (2PC), CAP theorem trade-offs, and NewSQL engines.
By Md. Harun-Or-Roshid
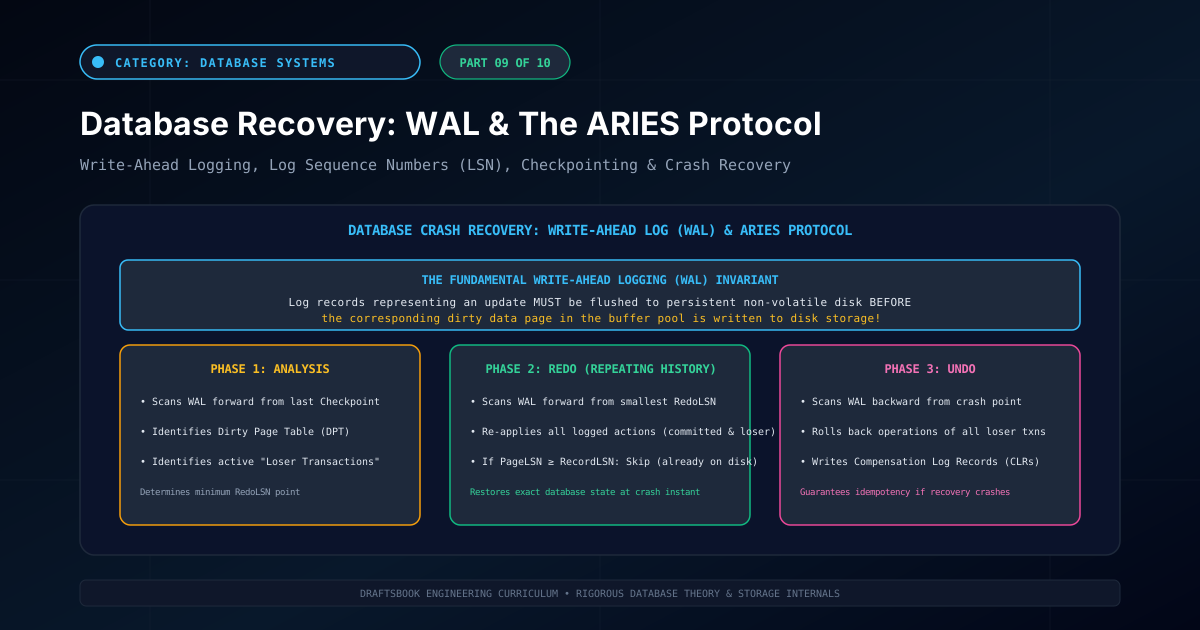
Part 9: Database Recovery: Write-Ahead Logging (WAL) & The ARIES Protocol
Master database crash recovery: steal/no-force buffer policies, Write-Ahead Logging (WAL), and the three-pass ARIES Analysis, Redo, and Undo algorithms.
By Md. Harun-Or-Roshid