All
Latest
Laravel’s Power: Unlocking Large-Scale Projects with DDD & The New Cloud API
Explore how Laravel excels in large-scale applications, integrates with Domain-Driven Design, and the exciting potential of the new Laravel Cloud API.
- Android
- Laravel
- JAVA
- Software Engineering

Navigation Drawer and its Usage in Android.
Navigation drawers comes with mesmerizing access to destinations, functionality, switching...
Laravel’s Power: Unlocking Large-Scale Projects with DDD & The New Cloud API
Explore how Laravel excels in large-scale applications, integrates with Domain-Driven Design, and the exciting potential of the new Laravel Cloud API.


Java’s Next Leap: Exploring Project Valhalla & JEP 401 (Value Classes) Early Access
Discover Project Valhalla's impact on Java performance! Explore JEP 401 (Value Classes & Objects) and learn how to try the new Early Access build for a faster, leaner JVM.

Chapter 6: Software Testing with example Process
What is Testing? Testing is the process of evaluating a system or its component(s) with the intent...
All
Popular
Binary Tree with implementation using C.
Binary Tree: A binary tree each node has at most two children generally referred as left child and...

All
Latest
Navigating the AI Frontier: Why Staying Updated on Artificial Intelligence News is Crucial
The world of AI is evolving at lightning speed. Discover why keeping up with the latest Artificial Intelligence news and trends is essential for everyone.


Python in 2025: Unlock Web Development’s Full Potential with Modern Versions
A 2025 survey reveals 83% of developers use outdated Python. Discover why upgrading to modern Python is critical for web development performance, security, and innovation.
Read More
Unlocking Innovation: A Comprehensive Guide to Essential AI Tools for 2024
Dive into the world of AI tools with our comprehensive guide. Explore categories, benefits, and top applications transforming industries and daily life in 2024.
Read More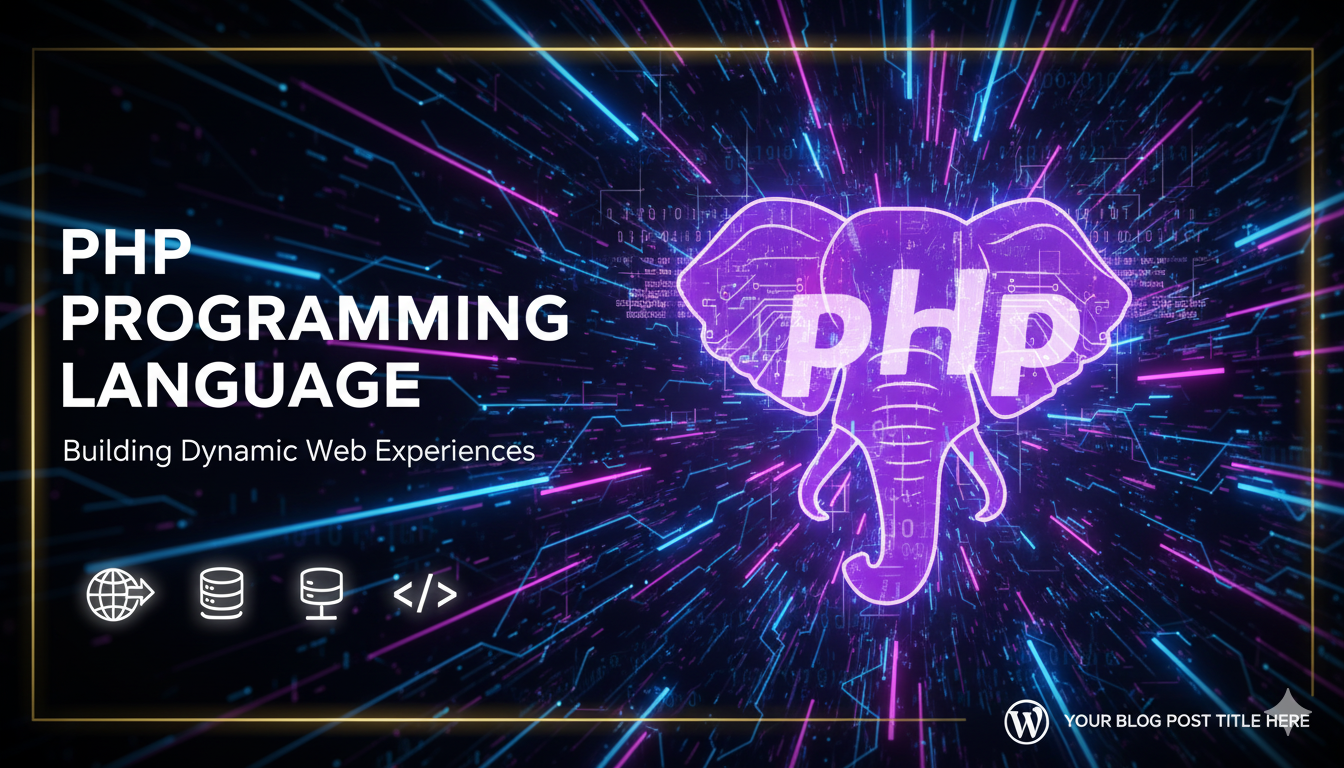
PHP 8.5: Unpacking the Future of Web Development (Release, Features & Migration Guide)
Get ready for PHP 8.5, scheduled for release on November 20, 2025! Explore the upcoming features, performance boosts, and essential migration strategies for a smoother transition.
Read More
Mastering IELTS Speaking: Your Daily English Practice Roadmap for Success
Unlock a higher IELTS Speaking score with a consistent daily English practice routine. Discover expert tips and actionable strategies to boost your fluency, vocabulary, and confidence for test day.
Read More
Anticipating Python 3.14: Features, Performance & Data Science Trends for 2025
Get an early look at Python 3.14, slated for 2025! Explore expected features, performance boosts, and how it will shape Python development and data science.
Read More
Stay Ahead: Why Keeping Up with the Latest AI News and Trends is Crucial
The world of AI evolves at lightning speed. Discover why staying informed on the latest AI news, breakthroughs, and industry trends is essential for everyone.
Read More
Unlocking the PHP Ecosystem: Your Essential Weekly Guide to News, Trends, and Updates
Stay ahead in web development with a weekly dive into PHP news, articles, events, and essential links. Discover the power of continuous learning for PHP professionals.
Read More
Mastering the IELTS Speaking Test: Your Comprehensive Guide to an Impressive Score
Discover expert strategies and essential resources to ace the IELTS Speaking Test. Learn how to boost your fluency, vocabulary, and confidence for a top score.
Read More
Python’s Future: What to Expect in 2025 and Beyond for Developers & Data Scientists
Explore Python’s exciting future! Discover anticipated trends, innovations, and what upcoming releases like Python 3.13 and 3.14 mean for developers and data scientists.
Read More
AI in Education: Navigating ChatGPT’s Dual Impact on Learning and Application Essays
Explore how AI tools like ChatGPT are reshaping education, from aiding learning to challenging academic integrity, especially in the realm of college application essays.
Read More